General settings
![]()
In this command the General settings of FASTSUITEEdition 2 are defined.
The command opens a window with various containers.
Clicking on a container will open (or close) it to see and optionally modify the options within the container.
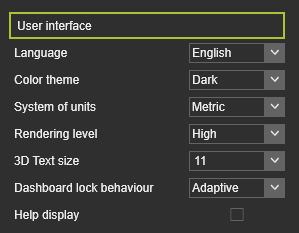
| Language | The FASTSUITE Edition 2 user interface supports several national languages. The setting lets the user select from: 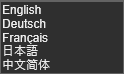 |
| Color theme | There are two base themes available in which the command icons and UI background colors are preset. The user can select from: |
| System of units | The system default units in which parameters are defined and measured. The user can select from: |
| Rendering level | Specifies the rendering level of the 3D geometry. The user can select from: |
| 3D Text size | The size of all 3D text. The size can only be chosen from the predefined list, other sizes are not supported. |
| Dashboard lock behavior | Specifies how the dashboards are opened. The user can select from: |
| Help display | Option to switch on or off the advanced help to appear in the 3D View. |
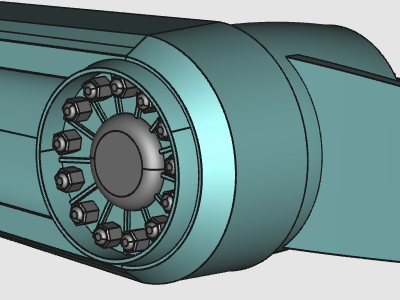
Rendering level
The rendering capability of the 3D View is divided in three levels. The Low level applies the standard lightning effects. With this level the performance of the software is most optimal. The Medium level applies the rendering with texture mapping and light reflection according the material properties that have been applied to the geometry. The High level adds a base shading to the rendering of the Medium level.
 |  |  | ||
| Low | Medium | High |
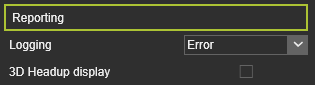
| Logging | The console supports three levels of logging the information. The setting lets the user select from: |
| 3D Headup display | Option to switch on or off the Headup display to appear in the 3D View. |
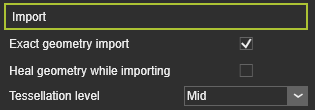
| Exact geometry import | Option to import the geometry in Exact mode. |
| Heal geometry while importing | Option to heal the geometry while importing it. This includes the removal of small gaps and holes, etc. |
| Tessellation level | The level of tessellation after importing the exact geometry. The user can select from: 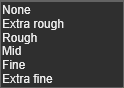 |
Exact geometry import
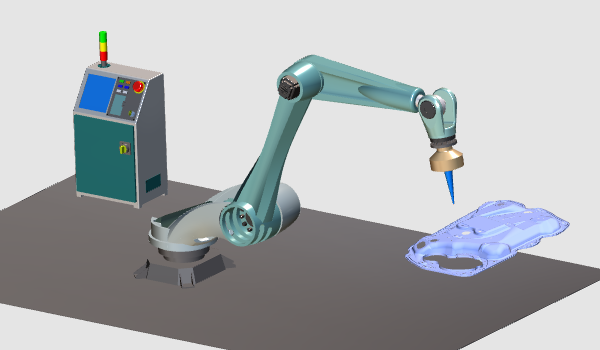
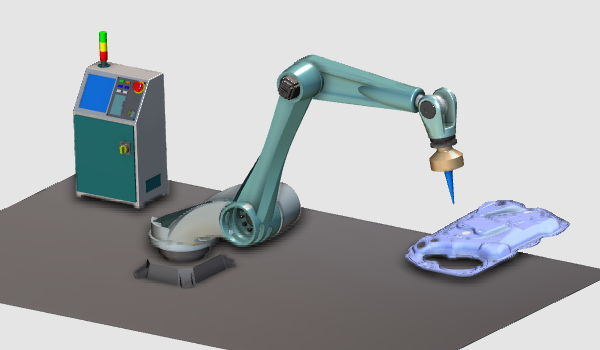
When creating resources, controllers and other peripheral components there normally is direct need to have an exact, highly detailed copy of the physical component. A good representation will mostly fulfill the expectations and needs while creating the manufacturing processes and running the simulations. In all these cases a simple geometry import that is converted to a triangular mesh is sufficient. It furthermore will limit the need for system resources (CPU power and graphics).
But there are also situations where the geometry that will be used needs to be imported with the same shape and topological description. This is mostly the case when creating the workpieces that are used in some manufacturing process. For these cases the option Exact geometry import has to be applied. Still the representation of the import is a triangular mesh, but the topology and shape descriptions are kept in the background. Because of that not only the shape faces, but also the face edges are imported and have become selectable elements.
 |  | |
| Simple mode | Exact mode |
Tessellation level
When geometry is imported, the representation in the 3D View is based upon a mesh of triangles. The more and smaller the triangles, the more accurate this representation is to the real shape of that geometry. But at the same time the more triangles are displayed, the more the system resources are needed to create and display this level. Thus, the overall performance might be effected.
To speed up to process while importing the geometry and to be able to import a huge amount of geometrical data, a tessellation level can be specified. When the geometry is imported, the algorithm determines the global size and bounding box of the geometry. In combination with the selected level, a global tessellation size and tolerance, i.e. deviation from geometry, then is applied to display the geometry.
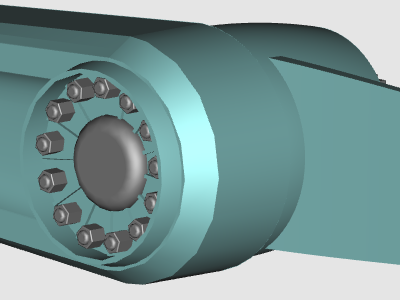
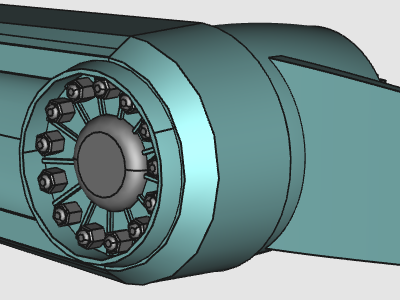
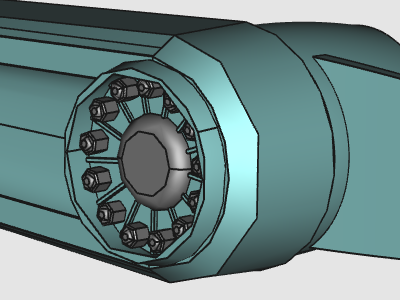 |  | |
| Extra Rough | Extra Fine |
The tessellation level has only effect when importing the geometry in the Exact mode. When not, a default, non editable tessellation level automatically is applied onto the geometry.

| Size | The size of the manipulators can be set to three different dimensions:  |
It is possible to give the manipulators a preferred size for personal convenience. The setting has effect on every manipulator type that the software displays.
 |  |  | ||
| Small | Medium | Large |
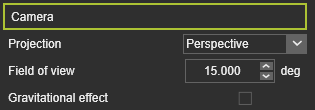
| Projection | The camera projection type can be set here: |
| Field of view | The angle for the perspective view. Value can be set between 1 deg. and 60 deg. A 45 deg. angle is close to the normal view of the human eye. |
| Gravitational effect | This option creates the impression that the user viewpoint tilts or banks with respect to the Z-axis. |
| Setting | Description | Keyboard shortcut toggle |
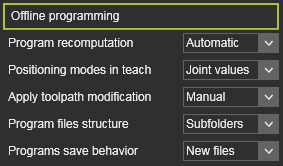
| Program recomputation | Changes made in the program that require a recomputation can be executed automatically or by manual interaction of the user.  | |
| Positioning modes in teach | Particular useful for teaching programs with multiple robots, machines or resources with external kinematics. | |
| Apply toolpath modification | Changes made in the OLP teach mode are updated in the 3D View dynamically (Automatic) or a manual update has to be initiated. | |
| Program file structure | The method to save the programs. | |
| Program save behavior | Saving programs that have already been stored should reuse the existing file name and location or always create a new files. |
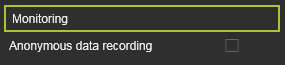
| Anonymous data recording | Allows to record and collect anonymous data of the FASTSUITE Edition 2 session for development purpose, to improve usage, performance and other important behavior of the application. |
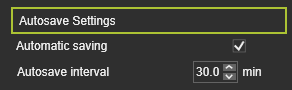
| Automatic saving | When enabled, this allows to stores up to three rollback versions per scenario. It avoids interference with computations, simulations or loading scenarios in FastSuite E2. | By default this option is disabled in settings. |
| Autosave interval | Set the time interval in minutes between each automatic save |