Build the workpiece
Purpose
FASTSUITE Edition 2 distinguishes between the workpiece and the fixture resource. The workpiece will be built from an external file containing the part geometry.
The specific workpiece document will be generated. Geometry from the external file will be imported to give shape to the part. Then dedicated information is assigned to start offline programming at a later stage of the project.
Steps
1. Preparation
1.1 Switch to the Workpiece Preparation workbench.
Workpiece workbench
1.2 Create a new empty document (if needed)
If another document is already open in the running session, this step has to be executed. If not, this step can be skipped.
Create a new document
![]()
2. Define the workpiece
2.1 Verify geometry import settings
To use the workpiece properly in offline programming, import the geometry as exact geometry.
Verify import settings
![]()
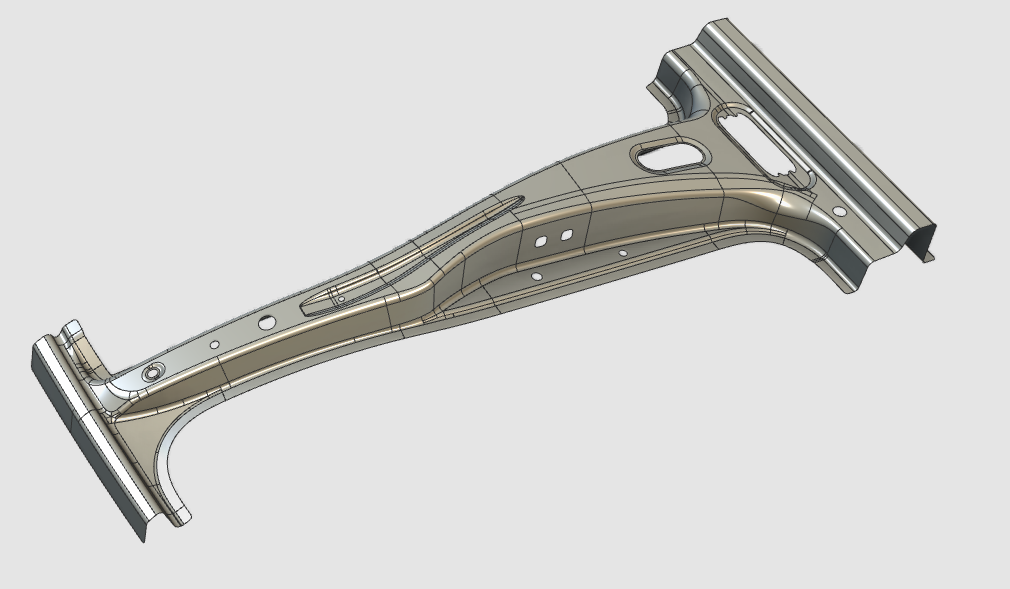
2.2 Import geometry from B_Pillar.stp
Import the geometry from the B_Pillar.stp file located in the training data.
Import geometry
![]()
2.3 Create a workpiece for the imported geometry
Create a workpiece
2.4 Give the workpiece an appropriate name
Name the workpiece
3. Build the workpiece shape
3.1 Attach the imported geometry to the workpiece
Attach geometry
4. Save the workpiece
4.1 Save the workpiece
Start the Save workpiece command. Select your desired path to store the workpiece. By default, the name of the workpiece will be used.
Save the workpiece
5. Optional one-click alternative
Paragraphs 2 and 3 explain how to build a workpiece from scratch in individual steps. For convenience, these steps can be executed in a single operation.
If this automated creation fails for any reason, use the manual steps from paragraphs 2 and 3.
5.1 Use one-click workpiece creation
While dropping the step file from File Explorer into the new document, press and hold the W key. Verify that the part has been created and the geometry has been attached automatically.
Do not forget to save the workpiece. In the File manager, right-click the workpiece item in graphics to start the Save command, then select your desired path.
One-click workpiece creation