Calibrate the welding seam
Purpose
Learn to calibrate the welding seam with the various methods that the software offers.
Load the project Arcwelding_TouchSensing.cendoc from the Projects folder of this tutorial library.
Steps
1. Touch sensing
Detection of the workpiece (seam position) by touching — i.e. by collision between the welding gun and the workpiece.
1.1 Set the calibration method in Programming defaults
Open the Programming defaults dashboard. Open the Recipes container and set the calibration method to Touch by point indication. Then select the Touch sensing tab to look for the touch sensing attributes. Set the type to Detection with nozzle if not already defined. This will take the welding gun as sensing object when touching the workpiece.
Programming defaults
![]()
1.2 Define the welding seam
Define the welding seam, but do not confirm it yet.
Welding seam
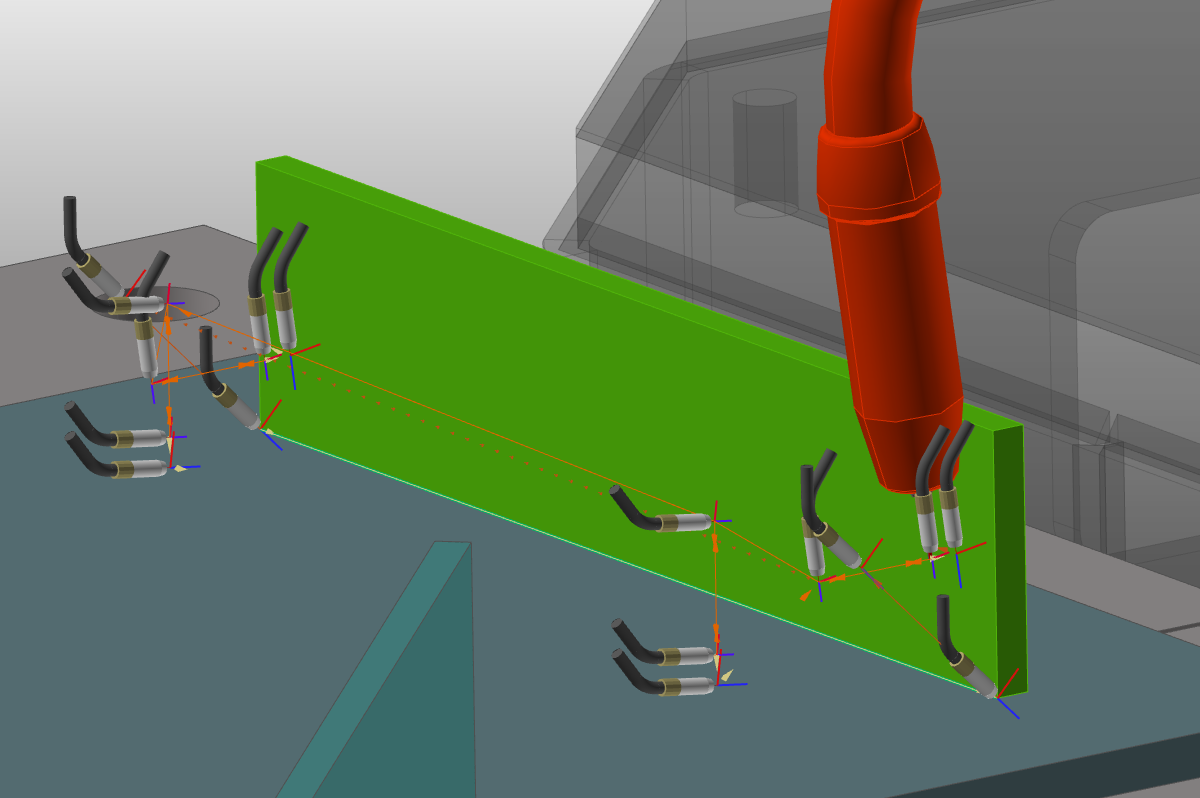
1.3 Pick the touch calibration points
Pick the desired calibration points on the workpiece. Their position is taken from the mouse click location, based on WYSIWYG. A blue sphere appears at each touch position. When done, confirm the selection to program the operation.
Touch positions
1.4 Review the operation group
Open the Active program dashboard. Expand the operation group to notice that the touch operations have been placed before the seam welding operation. Run a simulation to see the complete program.
Operation group
1.5 Modify touch operation attributes
Select the first touch operation. Then open the Touch sense container in the Touch sensing tab. Modify some touch attributes and notice the effect.
Modify touch operation
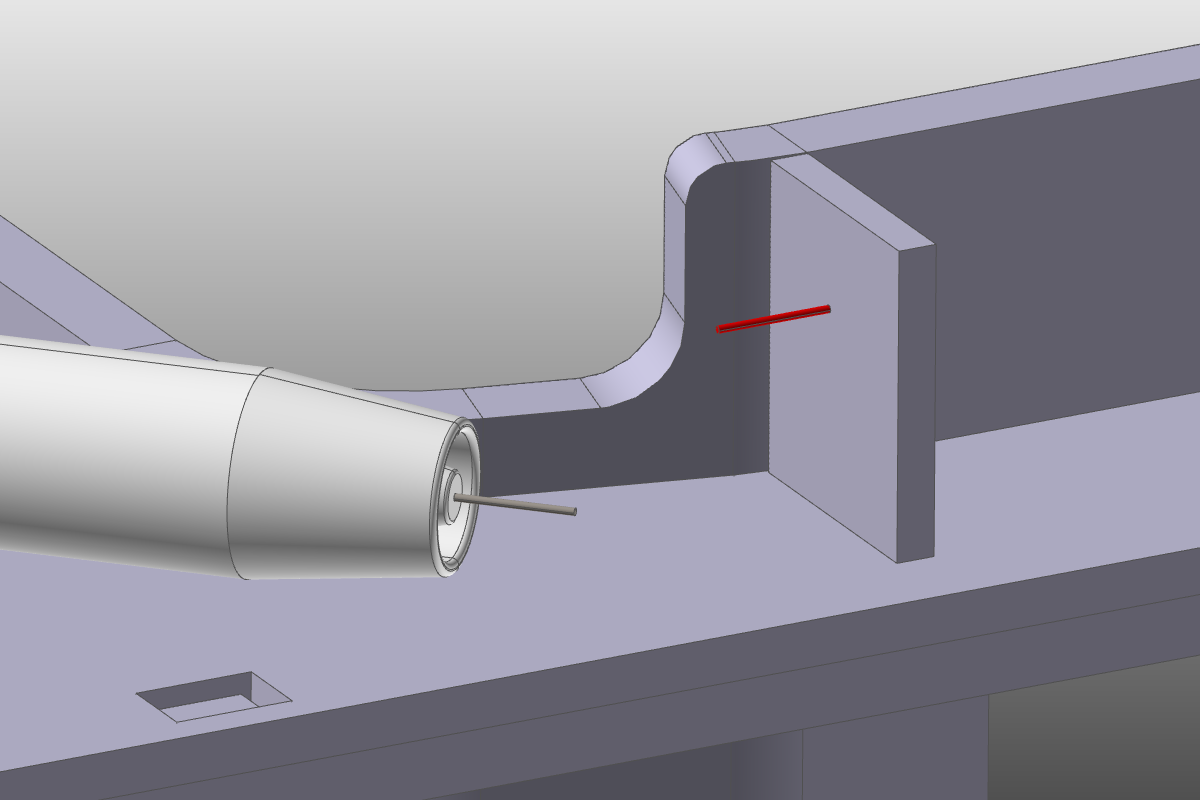
1.6 Switch to Touch with wire detection
Remove the program. Then open the Programming defaults and set the detection type to Touch with wire.
Touch detection with wire
1.7 Program with touch-wire positions
Select the existing seam definition to program it. The touch positions are displayed. A position can be moved by picking the yellow sphere and dragging it. New positions can also be added. Then program the operation.
Touch detection with wire
1.8 Program a second welding seam with touch positions
Program a second welding seam with touch positions. Open the Active program dashboard and expand the operation groups to see that each group contains a welding operation with its touch positions.
Welding operations with touch sense
1.9 Sort touch and welding operations into separate groups
Remove the program. In the Programming defaults, switch the Operation sorted option on. Then program two welding seams again and notice that the operation groups have been sorted into a touch operations group and a welding operations group.
Operations sorted
2. Detection with point laser
Detection of the workpiece (seam position) by measuring the workpiece position with a laser. The workflow to calibrate the welding seam is similar to the touch sense method described above.
3. Seam finding with 2D/3D laser
Detection of the workpiece (seam position) by measuring — i.e. scanning the start and end position of the welding seam with a 2D/3D line laser.
Load the project Arcwelding_SeamFinding.cendoc from the Projects folder of this tutorial library.
3.1 Set the calibration method to Seam finding
Open the Programming defaults dashboard. Open the Recipes container and set the calibration method to Seam finding line laser. Then select the Seam finding tab to review the attributes. Accept the default values.
Programming defaults
![]()
3.2 Define the welding seam and program it
Define the welding seam and program it. Run a simulation to see the result.
Welding seam
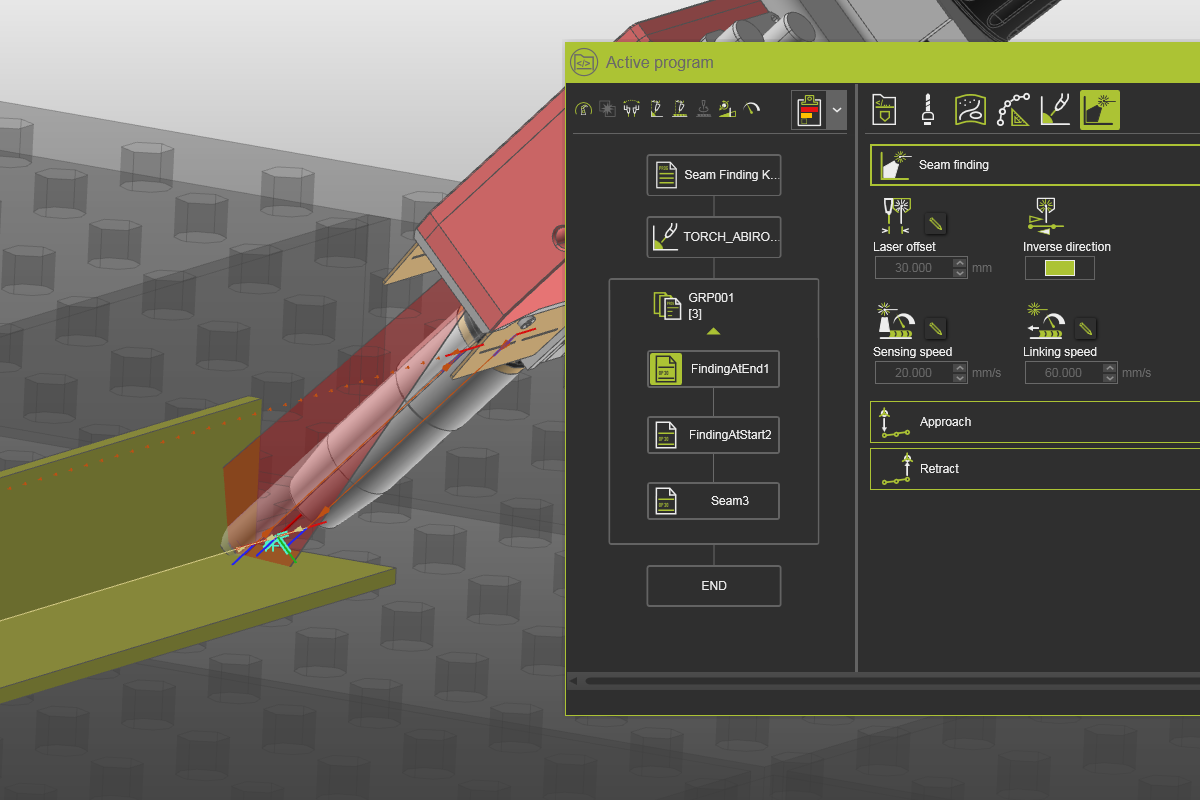
3.3 Review the operation group
Open the Active program dashboard. Expand the operation group to notice that the finding operations have been placed before the seam welding operation.
Operation group
3.4 Modify seam finding attributes
Select the end finding operation. Then open the Seam finding container. Modify some of the attributes and notice the effect.
Modify finding operation
4. Seam tracking with 2D/3D laser
Detection of the workpiece (seam position) by continuous measuring — i.e. scanning the workpiece position during the welding operation with a laser.
Load the project Arcwelding_SeamFinding.cendoc from the Projects folder of this tutorial library.
4.1 Set the calibration method to Seam tracking
Open the Programming defaults dashboard. Open the Recipes container and set the calibration method to Seam tracking line laser.
Programming defaults
![]()
4.2 Define the welding seam and program it
Define the welding seam and program it. Run a simulation to see the result.
Welding seam
4.3 Modify seam tracking attributes
Open the Active program dashboard. Then open the Seam tracking line laser container. Modify the attributes and notice the effect.
Modify operation