Build the welding part workpiece
Purpose
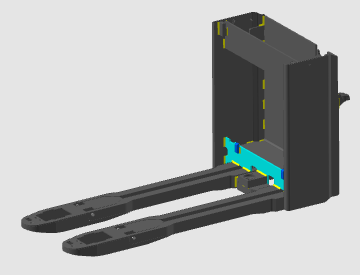
FASTSUITE Edition 2 distinguishes between the workpiece, the weld part, and the fixture resource. The weld part workpiece will be built from the external file containing the weld part geometry.
The weld part document is generated and filled with imported geometry from an external file. Then the required process geometry and adapter references are defined so the workpiece can be used in the fixture and later in offline programming.
Steps
1. Preparation (if needed)
1.1 Create a new document when another file is already open.
If another document is open in the current session, create a new empty document before you continue.
Create a new document
1.2 Switch to the Workpiece Creator workbench.
Switch to WPC workbench

2. Define the welding part properties
2.1 Create a new workpiece for the weld part.
Create weld part workpiece
2.2 Give the weld part an appropriate name and verify its properties.
Set workpiece properties
3. Build the welding part shape
3.1 Verify import settings before loading geometry.
To use the weld part correctly in offline programming, import the model as exact geometry.
3.2 Import the weld part geometry from an external file.
Import weld part geometry
3.3 Attach the imported geometry to the workpiece document.
Attach geometry
4. Define the process geometry
4.1 Create process geometry elements on the welding seams.
Alternatively, process geometry can also be generated later in the Offline Programming workbench before creating arc welding programs.
Define process geometry
5. Complete the welding part
5.1 Create a child mechanical adapter reference for fixture placement.
Use a common reference location between the weld part and fixture, such as a fixation hole, so placement is repeatable and accurate.
Create weld part adapter
5.2 Reposition the existing default adapter if needed.
If the default location is not suitable, move the adapter to the final reference position.
Adjust adapter position
6. Save
6.1 Save the completed weld part.
Save weld part