Weight reduction of the fixture
Purpose
Learn how to reduce fixture weight using plate weight-reduction settings, tower-specific options, and fixture resizing strategies.
Load the project Fixture_Training_WeightReduction.cendoc from this tutorial library.
Steps
1. Preparation
1.1 Set update behavior
Open the Fixture parameter dashboard. In General parameters, set Manual update behavior.
In Automatic mode, each dashboard change recomputes the fixture immediately. In Manual mode, you can collect multiple changes and trigger a recomputation using Update.
Update behavior
2. Weight reduction of fixture plates
2.1 Enable auto weight reduction
Open the Weight reduction container and activate Auto weight reduction. Then press Update to recompute the fixture with the weight-reduction result.
Weight reduction
2.2 Select which plates to reduce
Apply weight reduction separately for X, Y, and base plates. Toggle each plate option and update the fixture to compare the result.
Plate selection
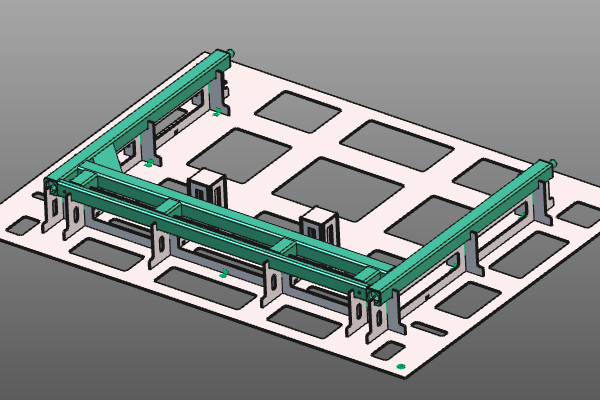
2.3 Adjust weight reduction parameters
![]()
Weight reduction is driven by boundary parameters. Modify these values to control the minimum remaining material width of the plates.
Weight parameters
3. Weight reduction on tower plates
Tower plates are usually small. Their weight reduction often has limited impact on total fixture weight, while increasing manufacturing effort and cost. For this reason, global plate reduction is not applied to towers by default; towers use their own option.
3.1 Switch to automatic update
In General parameters of the Fixture parameter dashboard, set Manual update behavior to Automatic update.
Update behavior
3.2 Enable weight reduction per tower
For each tower, run Modify tower and enable Weight reduction. Click outside the panel to update the tower.
Tower weight reduction
4. Weight reduction by resizing the fixture
Even with weight reduction enabled, the fixture may still be too heavy due to overall size. Splitting the fixture into smaller sub-fixtures and resizing base plates can further reduce total weight.
4.1 Split the base plate
Place the manipulator at the split position on the base plate. On the manipulator axis that defines the split direction, run Split the base plate.
Split base plate
4.2 Resize and reposition base plates
Resize and position each new base plate. Center each base plate around the support plates before final resizing.
Resize base plate