Generate the spot welding program
Purpose
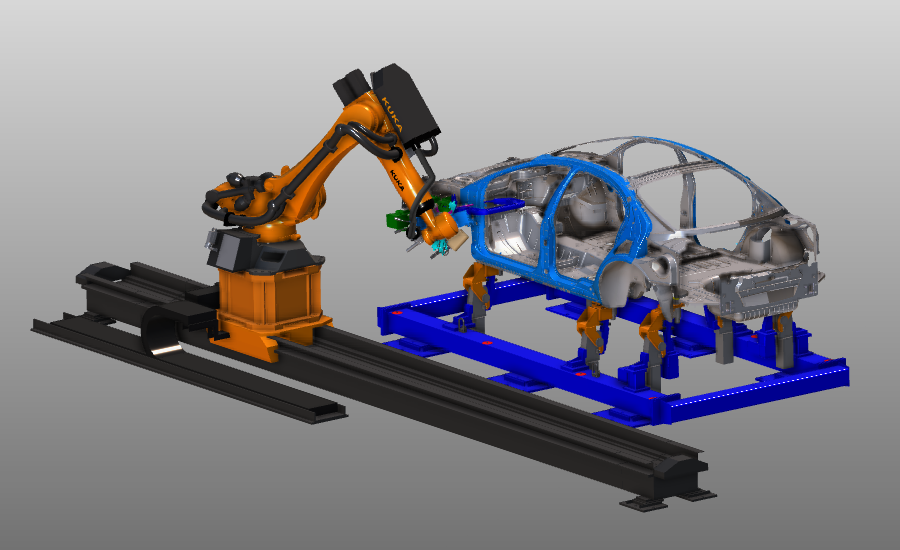
After setting up the workcell with the car body assembly, generate, optimize, and simulate the spot welding programs.
Spot welding positions are programmed in separate groups. The resulting toolpath is then refined with teach and optimization functions, followed by validation through simulation.
Steps
1. Preparation
1.1 Switch to the Offline Programming workbench
Switch to OLP workbench

2. Unit setup
2.1 Verify spot welding technology setup
Check that the spot welding technology is active for the robot.
Set technology
2.2 Set base and tool frame
Set the base frame and tool frame as active for programming.
Define base and TCP
3. Program the toolpath
3.1 Create the first home position
Use the simple teach method to create the first home position. A new robot program is created automatically and OLP dashboards are enabled.
Program an operation
3.2 Adjust camera perspective
Use perspective view as needed to improve navigation in the 3D scene.
Change camera view
3.3 Program the first welding operation
Program the first welding operation. You can select multiple points together or one by one using Ctrl.
Program operation points
4. Optimization
4.1 Move rail in Events/Teach environment
Switch to the Events and teach environment, then move the robot along the rail to reach the first point.
Start toolpath optimization
4.2 Run first simulation
Simulate the program to get an initial quality check.
Simulate program
4.3 Review program issues
Check reported program issues before continuing optimization.
Check program issues
4.4 Modify gun orientation and configuration
Adjust gun orientation on welding positions and define the correct robot configuration to reduce collisions.
Modify toolpath
4.5 Interpolate toolpath
Interpolate between first and last welding positions to create smoother gun motion. Use tangent optimization where appropriate.
Interpolate toolpath
4.6 Insert approach positions
Insert tool positions before the first welding operation to define the gun approach.
Enhance toolpath (before)
4.7 Insert retraction positions
Insert tool positions after the last welding operation to define the gun retraction.
Enhance toolpath (after)
4.8 Simulate optimized program
Run simulation again and confirm collisions are resolved.
Simulate optimized program
5. Technology optimization
5.1 Simulate gun open/close at weld positions
Activate simulation to open and close the welding gun at each welding position.
Simulate welding gun
5.2 Include gun rotation during operation
Enable gun rotation during welding operation where required.
Simulate gun rotation
6. Additional information
6.1 Navigate with Teach dashboard
Use the Teach dashboard to navigate along the generated toolpath.
Toolpath navigation
6.2 Review simulation monitor values
Verify velocities, TCP coordinates, and joint values in the Simulation monitor.
Simulation monitor
7. Download the program
7.1 Generate and download robot program
Generate the program to download to the robot controller.
Download program
7.2 Verify downloader output directory
Program files are stored at the output location defined in controller properties. Verify this path and copy files elsewhere if required.
Switch to CB workbench

Check download properties
8. Save the project
8.1 Save the project under an appropriate name
Save project