Automated welding process orientation
Purpose
Learn to use some features to automate the programming.
Load the project Arcwelding_Downhand.cendoc from the Projects folder of this tutorial library.
Steps
1. Program a welding path
1.1 Program the welding seam
Program welding path
1.2 Align the tool frame with the welding path orientation
Select the Create and edit events command. Notice that the tool frame orientation of the welding torch is not matching with the welding path orientation. Open the Active program dashboard and the Tool data tab. Change the tool alignment to match the tool frame with the welding path orientation. Then run a simulation.
Tool alignment
2. Process orientation
2.1 Activate Process orientation (downhand)
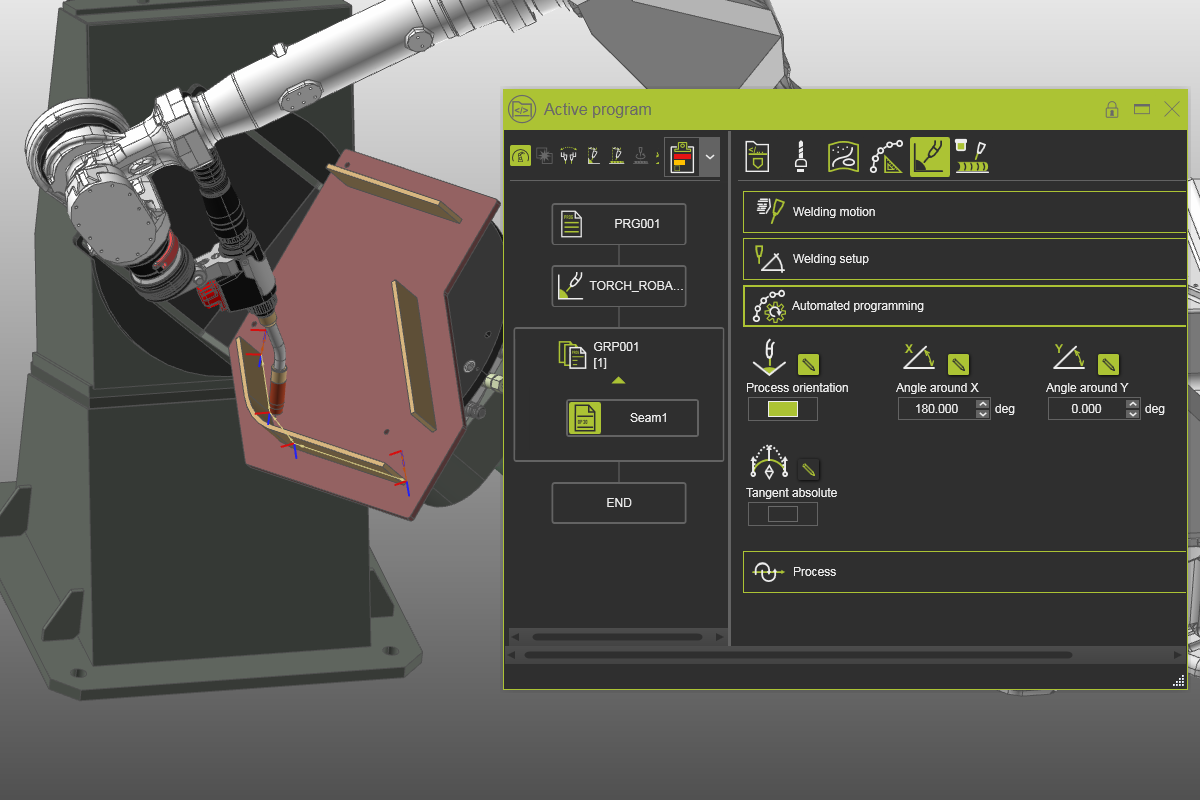
To weld with the welding torch normal to the world — also known as downhand position — open the Automated programming container. Activate the Process orientation for the seam and see the effect in the 3D space. The workpiece positioner rotates the workpiece in such orientation.
Process orientation
2.2 Change the Angle around X
Change the Angle around X to 180°, to set the table upright. Simulate the welding path to notice the difference with the previous solution.
Process orientation