Build a workcell floor
Purpose
Use the Resource Builder workbench to define a workcell floor that acts as the base for positioning other components.
The floor resource is created from imported geometry and then completed with adapters and properties for downstream layout setup.
Steps
1. Preparation
1.1 Create a new empty document (if needed)
If another document is already open in the running session, create a new empty document. If no document is open, you can skip this step.
Create a new document
Open the File menu and select New. If prompted, choose whether to save the currently open document, close it without saving, or cancel.
1.2 Switch to the Resource Builder workbench
Switch to Resource Builder

2. Define the floor resource
2.1 Import floor geometry
Import the floor geometry from the training file set.
Import geometry
2.2 Create the building parts resource
Create a new building parts type resource for the imported floor geometry.
Create building parts resource
3. Build the floor resource shape
3.1 Attach geometry to the root frame
Attach the imported floor geometry to the root frame of the resource.
Attach geometry
4. Create adapters and complete properties
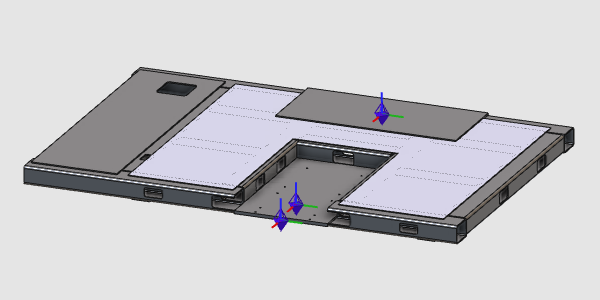
4.1 Create reference auxiliary geometry
Create auxiliary elements used to position the adapters.
Create auxiliary geometry
4.2 Create and configure adapters
Create adapters for the robot pedestal and workpiece positioner, then complete adapter types and properties.
Create and configure adapters
5. Save and verify
5.1 Save the floor resource
Save resource