Generate the pick & place program
Purpose
After setting up the workcell, generate a base pick and place program for the part.
The tutorial covers the core steps to create toolpaths for pick and place, simulate the result, download the program, and save the project.
Steps
1. Preparation
1.1 Switch to the Offline Programming workbench
Switch to OLP workbench

2. Setup the project
2.1 Add the workpiece and workpiece box
Add the workpiece and the workpiece box to the project.
Add to project
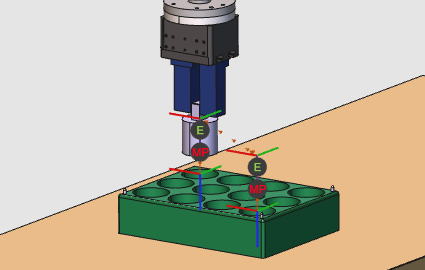
2.2 Place the cylinder in the box
Select Drag & snap mode to place the cylinder in the box.
Position components
2.3 Calibrate and place the box on the table
The box has three centering pins for calibration. Load the measured coordinates file from the training data, calibrate the box on the table, then switch back to Drag & snap mode to position it.
Calibrate the box
2.4 Check technology settings
Check or set the technology and its attributes.
Set the technology
3. Program the robot
3.1 Create the first operation (pick)
Create the first operation where the robot grabs the workpiece.
Program an operation
3.2 Add the pick event
Simulate the operation, then add an event at the lowest position to grab the workpiece.
Add pick event
3.3 Create the second operation (place)
Create the second operation where the workpiece is released.
Program an operation
3.4 Add the drop event and simulate
Add an event at the lowest position of the second operation to release the workpiece, then simulate the final result.
Add drop event
4. Download the program
4.1 Generate and download the robot program
Generate the program for upload to the robot controller.
Download program
5. Save the project
5.1 Save the project with an appropriate name
Save project