More design features
Purpose
This page covers additional features used to complete the fixture design.
Continue with the fixture from the previous page. If needed, load fixture_training1_2.cendoc from the training material installation folder.
Steps
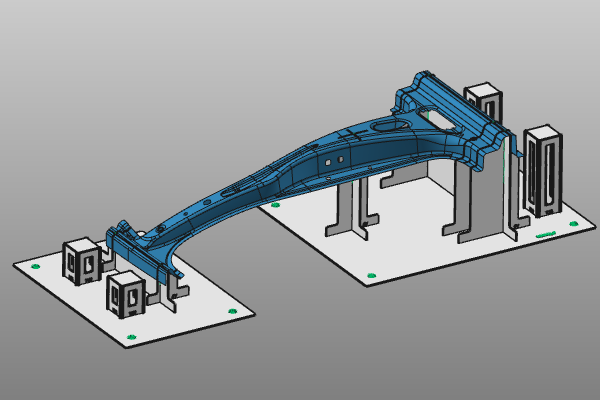
1. Tower
The tower is a predefined object built from smaller plate elements. It is typically used to mount supporting equipment such as clamps.
The steps below show tower functionality only. A complete example that combines a tower with clamps is shown in the Fixture design details chapter.
1.1 Position the manipulator for tower creation
Place the manipulator on the base plate where the tower should be created, then move it above the plate to define tower height.
Position the tower manipulator
1.2 Create a tower
Open the pie menu at the manipulator center and start Add tower. Accept the design parameters in the panel and click in 3D space to build the tower object.
Build a tower
1.3 Move and adjust tower height
Open Move on the tower and drag it to the desired position. The same command can be used to adjust tower height.
Move the tower
1.4 Duplicate a tower
Position the manipulator at the new location and height on the base plate, then run Copy on the existing tower to create a second tower with the same dimensions.
Duplicate the tower
2. Split the base plate
For larger workpieces, using a single base plate may not be practical. If needed, split the base plate into multiple parts after the initial fixture computation.
2.1 Position split location
Place the manipulator at the position on the base plate where you want to split it.
Position split location
2.2 Split the base plate
On the manipulator axis in the split direction, run Split the base plate.
Split the base plate
2.3 Move and resize split plates
Move and resize the individual base plates as needed.
Move and resize split plates
3. Engraving: create a text label
Engrave additional text in any base plate or support plate element.
3.1 Position engraving location
Place the manipulator where you want to engrave text on the base plate.
Position engraving
3.2 Add manual engraving text
Start Add manual engraving. Enter the desired text in the panel and click in 3D space to execute the command.
Add manual engraving
3.3 Move and orient the engraving
Move the text to the desired position and orientation.
Move engraving
4. Holes
Create additional holes in any plate element.
4.1 Position new hole location
Place the manipulator at the base plate position where you want to add a new hole.
Position hole location
4.2 Add fixing hole
Start Add fixing hole. Enter the required hole diameter in the panel and click in 3D space to create it.
Add fixing hole
5. Save the fixture document
The fixture is a resource object type. To use it in a manufacturing layout, save it as a resource document.
5.1 Save the fixture resource
Run Save a fixture, then choose the destination path and provide a proper fixture name.
Save the fixture