Build the gripper
Purpose
Use the Resource Builder workbench to build the gripper for pick and place operations.
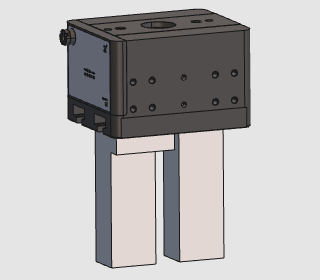
The gripper geometry is imported from an external file and converted into a tool resource. The resource is then extended with kinematics, adapters, and behavior settings so it can be simulated and used in a material handling project.
Steps
1. Preparation
1.1 Switch to the Resource Builder workbench
Switch to RB workbench

1.2 Create a new empty document (if needed)
If another document is already open in the running session, create a new empty document. If no document is open, this step can be skipped.
Create a new document
Open the File menu and select New. If prompted, choose whether to save the currently open document, close it without saving, or cancel.
2. Define the tool resource
2.1 Import geometry from GEH6140IL03B0.step
Import the geometry from the GEH6140IL03B0.step file in the training data.
Import geometry
2.2 Create a tool resource for the gripper
Create a tool resource
3. Build the gripper shape
3.1 Build the kinematic skeleton
Build the kinematic skeleton so the gripper can open and close during programming.
Build kinematic skeleton
3.2 Attach imported gripper geometry
Attach geometry
4. Define the gripper properties
4.1 Name the gripper and set kinematic limits
Set kinematic limits
4.2 Define gripper home positions
Define home positions
5. Create the gripper adapters
5.1 Create a tool frame and parent adapter
The tool frame is used as the current TCP during programming. The parent adapter is used to grab and release the workpiece.
Define frames and adapters
6. Define the gripper behavior
6.1 Set the actuator
Enable grabbing with this adapter and select monostable mode for the kinematic. This allows the gripper to open or close later through a signal.
Set actuator
6.2 Customize resource behavior
Customize the default behavior so you can close or open the gripper to grab or release the workpiece with one signal.
Configure resource behavior
7. Save the gripper
7.1 Save the completed gripper
Save resource
Next Step
-> Set up the pick & place project