Build the fixture assembly
Purpose
The fixture assembly will be built from the individual components.
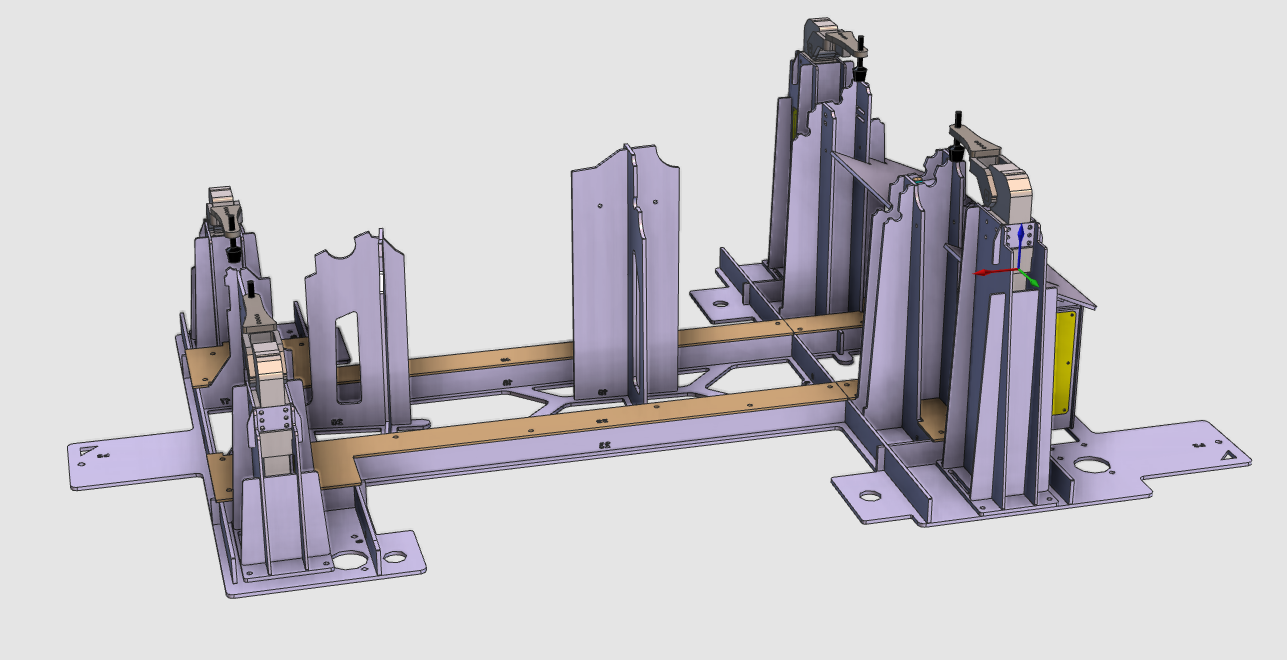
The fixture carrier and clamp instances are brought together and positioned correctly to build the complete fixture assembly.
Steps
1. Preparation
Depending on the license package in use, continue from Layout Builder or Offline Programming.
1.1 Switch to the Layout Builder workbench
Switch to LB workbench

1.2 Or switch to the Offline Programming workbench
Switch to OLP workbench

1.3 Create a new empty document
Create a new document
2. Build the fixture assembly
2.1 Switch to Drag & Snap mode if working in OLP
When working in the Offline Programming workbench, switch to Drag & Snap mode so the fixture components can be moved in the assembly.
Drag & Snap operation mode
2.2 Add the fixture carrier and clamps
Add the previously created fixture carrier and clamp resources (.cenres) to the layout.
Build the fixture assembly
2.3 Move the clamps apart
Because all four clamps appear at the same position initially, move them apart first.
Move the clamps
2.4 Position the clamps in the fixture
Position the clamps
3. Save
3.1 Note about saving from OLP
When working in the Offline Programming workbench, you cannot save a layout. In that case, continue directly with project setup. Otherwise continue with layout saving.
3.2 Save the layout under a new name
Save as layout
Next Step
-> Build the fixture from external CAD data