Set up the laser cutting project
Purpose
Setting up the laser cut project means building the manufacturing environment with the laser cut machine and all other necessary devices, fixtures and of course the workpiece, as it would be operating in reality.
The machine setup can be copied from a template master workcell. In this master workcell, the machine, part positioner, and required equipment are already arranged.
Steps
1. Preparation (if needed)
1.1 Switch to the Layout Builder workbench
Switch to LB workbench

1.2 Create a new empty document (if needed)
If another document is already open in the running session, this step has to be executed. If not, this step can be skipped.
Create a new document
2. Build the workcell
2.1 Add the fixture to this project
Add the fixture created in Step 2 to the new project.
Add to layout
2.2 Place the workpiece on the fixture
Add the workpiece to the layout and connect it to the fixture. Drag the workpiece toward the fixture. When a yellow connection line appears between workpiece and fixture adapter, drop the workpiece to connect it.
Connect workpiece to fixture
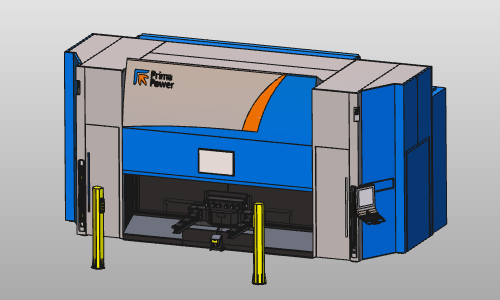
2.3 Load the laser machine from the Component library
Load the Prima LaserNext 1530 laser machine from the Component library.
Add a layout
![]()
2.4 Add an existing machine layout (alternative)
If the laser machine is not present in the library, load it directly from file location with Add existing components.
Add existing components
![]()
2.5 Show or hide machine parts with layers
Use layers to show and hide parts of the laser machine.
Use layers
2.6 Place the fixture on the turntable
Place the fixture with workpiece on the laser machine turntable using adapter connect functionality. In this tutorial, fixture mounting-hole mismatch with the turntable is ignored.
Place fixture on turntable
3. Prepare for collision analysis
Steps to prepare the workcell to run a collision analysis during simulation.
3.1 Define collision groups
Define collision groups for the laser head and the fixture with workpiece.
Define collision groups
3.2 Define collision checks
Define that during simulation these groups are analyzed against each other.
Define collision checks
4. Save
4.1 Save the project
Save the workcell setup as a project (.cenprj) under an appropriate name.
Save project
Next Step
-> Generate the laser cutting program