Nesting the fixture plates
Purpose
![]()
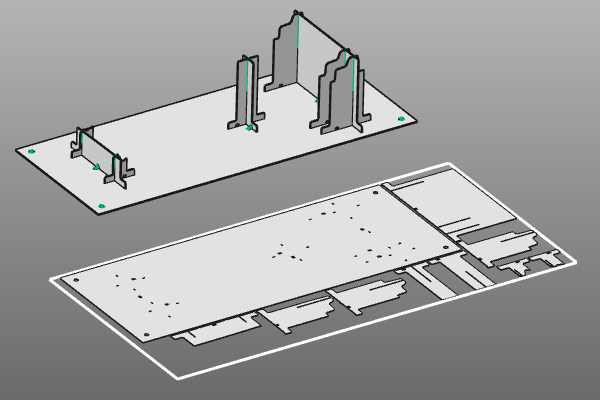
After the fixture design is complete, the plates must be manufactured, typically by cutting them from sheet metal. Efficient nesting places as many plates as possible on each sheet while minimizing scrap material.
This page explains the nesting workflow in Fixture Builder.
Load the project Fixture_TrainingPart_1.cendoc from this tutorial library.
Steps
1. Nest the plates
1.1 Define nesting parameters
Open the Nesting parameter dashboard. Set the minimum spacing between plates and define the sheet size used for nesting.
Nesting parameters
1.2 Create the nesting
Select Create a nesting from the left toolbar. When the manipulator appears, place it at a free location in the document. From the pie menu on the manipulator center, run Create a nesting and review the result.
Create a nesting
1.3 Update nesting after fixture modifications
The nesting updates automatically when the fixture changes. Add one or more plates and observe the updated nesting result. If needed, a second sheet of the same size is added automatically.
Update nesting after fixture changes
1.4 Reposition and recompute nesting
If you move the nesting result in the document, recompute it. Return to Create a nesting in the left toolbar, move the manipulator to a new location, then run Update nesting from the pie menu.
Update nesting position
1.5 Change sheet size and recompute
In Nesting parameter dashboard, choose one of the predefined sheet sizes or set a custom sheet size. Then run Update nesting to recompute for the new dimensions.
Update nesting for sheet size
1.6 Save nesting output
![]()
Save the nesting result either as a .cenwpc workpiece document for offline programming, or export it as DXF for other programming applications. Before export, review the export parameters in Nesting parameter dashboard.
Save the nesting