Set the controller port configuration
Purpose
Use the Controller Builder workbench to configure controller ports and define the simulation connector for the selected controller.

In the controller properties, the port configuration is set to the brand and type of the selected controller. The connector settings enable communication between FASTSUITE and the corresponding virtual controller.
Steps
1. Preparation
1.1 Switch to the Controller Builder workbench
Switch to Controller Builder
![]()

1.2 Select the controller in work
When switching to this workbench, a controller present in the layout is automatically preselected. Verify the selected controller before continuing.
Select controller in work

2. Define the port configuration properties
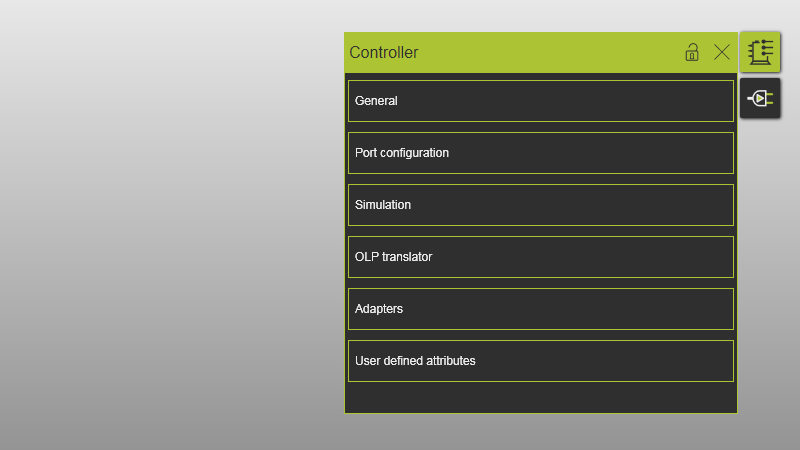
2.1 Open Controller properties
Open the Controller properties dashboard from the toolbar on the right side of the 3D view.
Controller properties
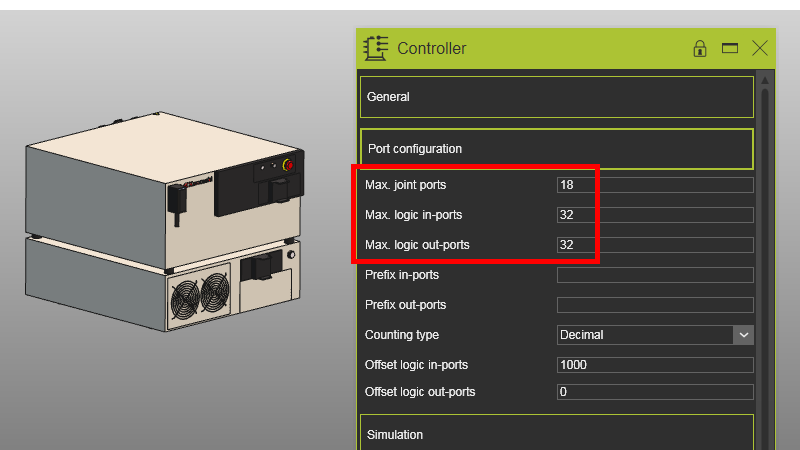
2.2 Set port configuration values
Open the Port configuration container and set these attributes:
- Max. joint ports:
18 - Max. logic in-ports:
32 - Max. logic out-ports:
32
Port configuration
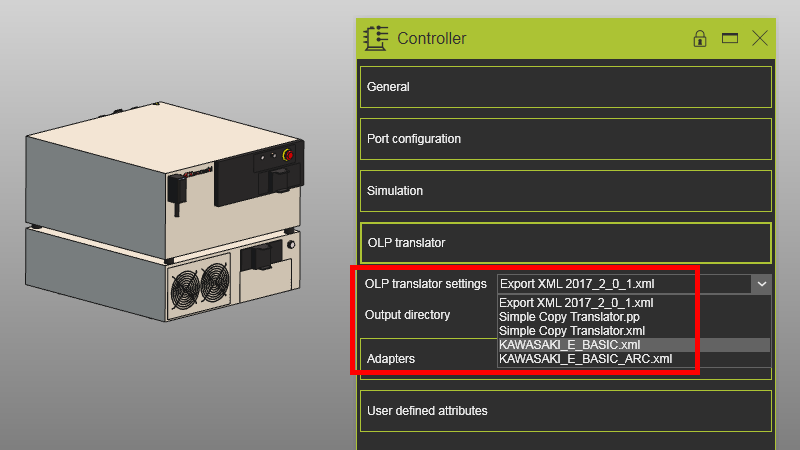
2.3 Select the OLP translator
Open the OLP Translator container and choose the required translator with enhanced signal support.
OLP translator settings
3. Define the simulation connector
3.1 Open Simulation / Connector Settings
Open the Simulation / Connector Settings dashboard from the toolbar at the right side of the 3D view.
Simulation connector settings
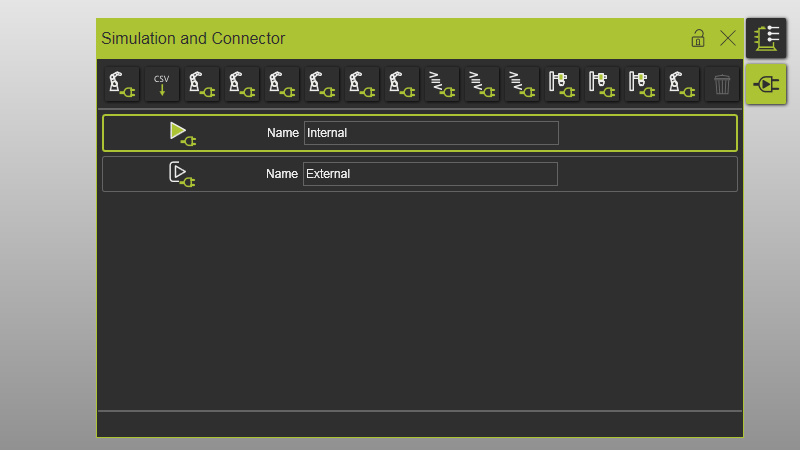
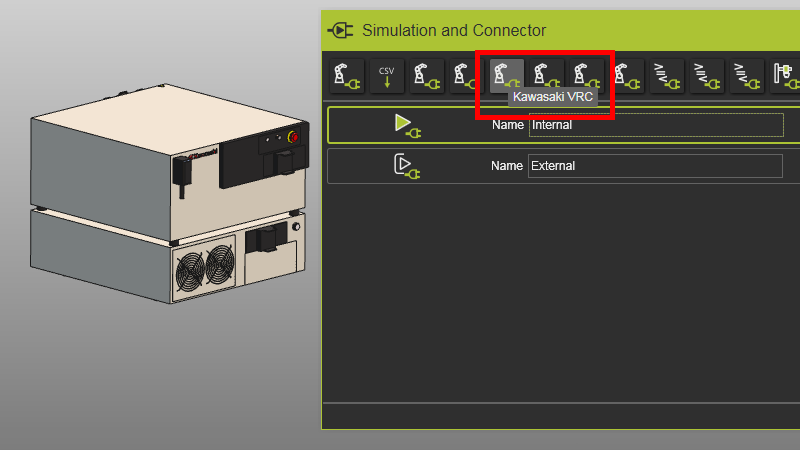
3.2 Create a new connector
Create a new connection using the Kawasaki VRC connector.
Create connector
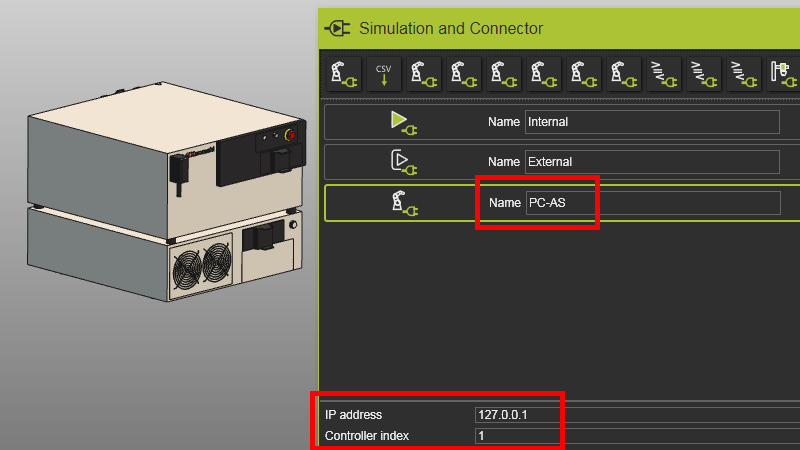
3.3 Configure connector attributes
Give the connection a proper name and set these attributes:
- IP address:
127.0.0.1 - Controller index:
1
Configure connector
4. Save
4.1 Save the controller configuration
Save controller