Set up the welding project
Purpose
Setting up the welding project means building the workcell with all other necessary devices, fixtures and weld parts, as it would be operating in reality.
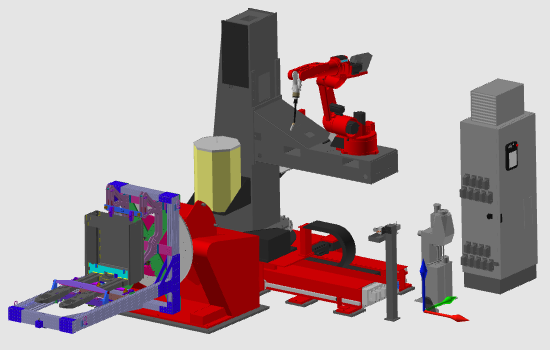
The workcell base is copied from a prepared master layout. Then the fixture and weld part from the previous steps are loaded and connected in their final positions.
Steps
1. Preparation (if needed)
1.1 Switch to the Layout Builder workbench.
Switch to LB workbench

1.2 Create a new empty document when another file is already open.
Create a new document

2. Build the workcell
2.1 Add the prepared master workcell layout to the document.
Add layout resources
2.2 Add the fixture resource and weld part created in previous steps.
2.3 Place the weld part on the fixture by using drag-and-snap.
Connect weld part to fixture
2.4 Place the fixture at its correct position in the workcell layout.
2.5 Use the alternative connection command when drag-and-snap does not connect properly.
Use connection command
3. Save
3.1 Switch to the Offline Programming workbench.
Switch to OLP workbench

3.2 Save the setup as a project file with an appropriate name.
Save welding project
Next Step
→ Generate the arc welding programs
Was this page helpful?