Set up the laser cutting project
Purpose
Setting up the laser cut project means building the manufacturing environment with the laser cut machine as it would be operating in reality.
The machine setup can be copied from a template master workcell where the machine, part positioner, and required equipment are already arranged. Continue with the fixture assembly from the previous step, or load FixtureCarrier_Clamps.cenlay from the training material.
Steps
1. Build the workcell
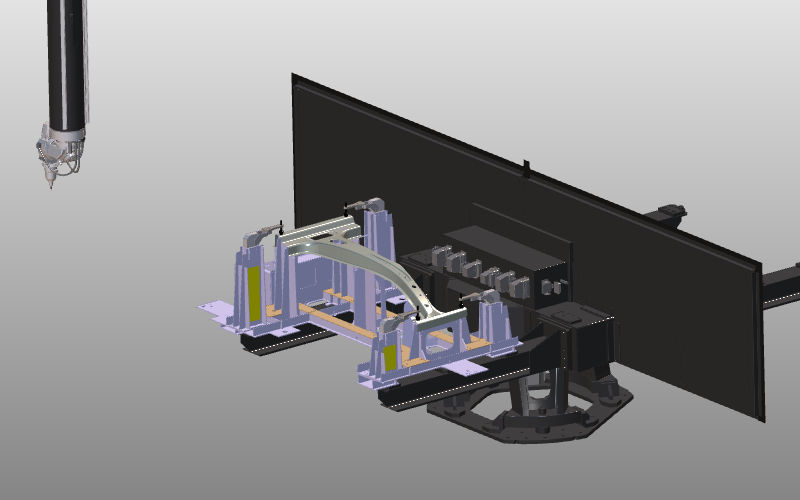
1.1 Place the workpiece on the fixture
Add the workpiece to the project and connect it to the fixture using drag and snap.
Place workpiece on fixture
1.2 Load the laser machine
Load the Prima LaserNext 1530 from the Component library.
Load machine from library
1.3 Use layers to show or hide machine parts
Use layers to show and hide parts of the laser machine.
Manage layers
1.4 Place fixture on the turntable
Place the fixture with workpiece on the machine turntable using drag and snap.
Place fixture on turntable
2. Prepare for collision analysis
Steps to prepare the workcell to run a collision analysis during simulation.
2.1 Switch to the OLP workbench
Switch to OLP workbench

2.2 Define collision groups
Define collision groups for the laser head and the fixture with workpiece.
Collision setup
3. Save
3.1 Save the project
Save the setup as a project (.cenprj) with an appropriate name.
Save project
Next Step
-> Generate the cutting program