Manipulator position
Set the Manipulator’s position and orientation
The software supports several ways to position and orientate the Manipulator. Its global information can be used, as well as the interactions as described above. And it is possible to make use of elements in the 3D View to automatically position and orientate the Manipulator.
![]()
Drag & drop on frame
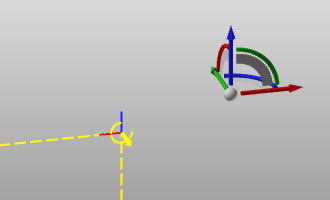
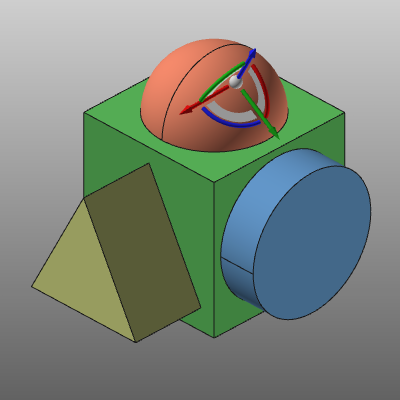
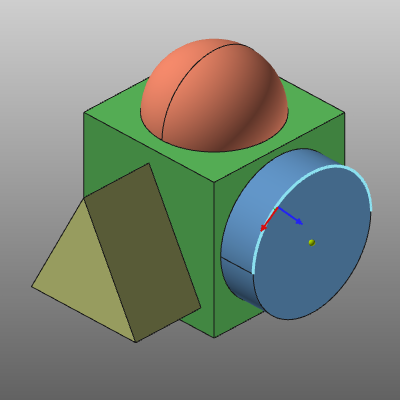
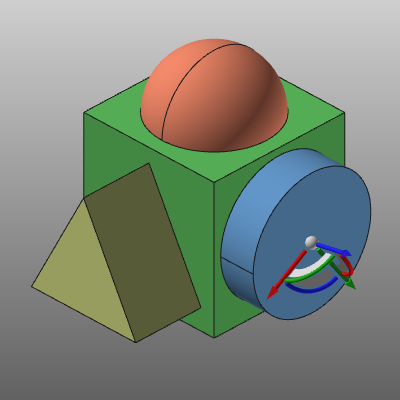
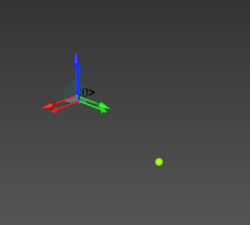
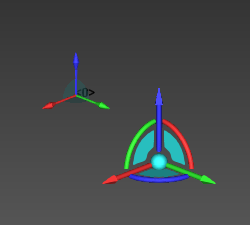
When the Manipulator has to be located at the exact position of an existing frame, with the exact same orientation, the easiest way is to drag and drop the Manipulator onto that frame.
To drag and drop the Manipulator its center sphere has to be picked. When dragging it to a frame, it can be dropped at that frame as soon as the frame is highlighted. This highlighting of the frame appears already when the dragged Manipulator is near the frame. After the Manipulator is dropped onto the frame, the position window appears to show the position and orientation.
 |  |  |
| Start | Drag | Dropped |
| It has to be kept in mind that although the Manipulator is located at a certain frame, its position and orientation remains defined according its current position mode. There also is no link between the Manipulator and the frame onto which it has been dropped. From here the Manipulator’s position and orientation can freely be modified again. |
![]()
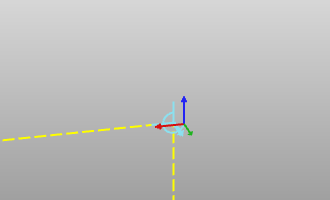
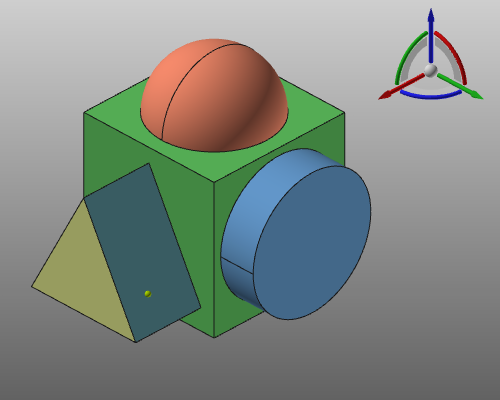
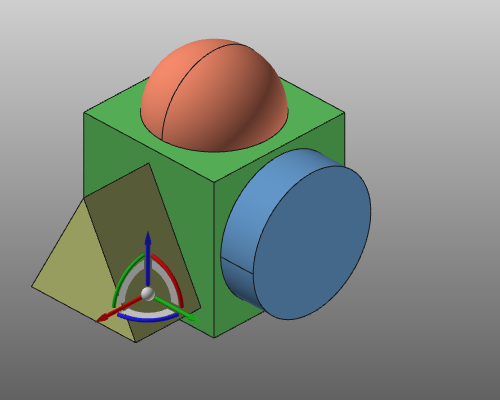
Drag & drop on geometry
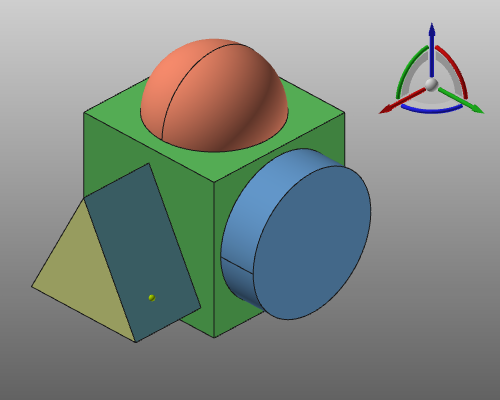
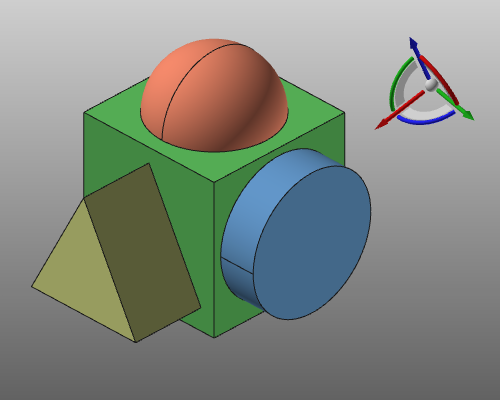
The drag and drop operation can be applied on geometrical elements.
To drag and drop the Manipulator, its center sphere has to be picked. When dragging it over some geometry that geometrical element will be highlighted.The Manipulator now can be dropped at any location on the geometry at the mouse position on screen. At the geometrical position the local normal vector is calculated. The W-axis of the Manipulator will always be directed according this local normal vector. When the geometrical element is an edge, line or curve, the U-axis lies at the tangent vector in the point at that element. After the Manipulator is dropped onto the geometry, the position window appears to show the position and orientation.
 |  |  |
| Start | Drag | Dropped |
| It has to be kept in mind that although the Manipulator is dropped on a certain geometrical element, its position and orientation remains defined according its current position mode. There also is no link between the Manipulator and the geometry onto which it has been dropped. From here the Manipulator’s position and orientation can freely be modified again. |
![]()
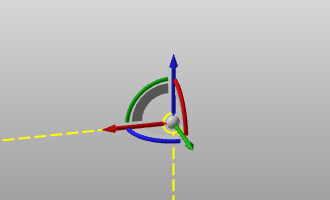
Snap on elements
Additional to dragging and dropping it onto some (geometrical) element, the Manipulator can be snapped at some special positions on that element.
When dragging the Manipulator over a geometrical element, a green dot may appears. This dot marks a dedicated special position of that element such as a center point of a circle, or a vertex point of a surface. Without needing to move the Manipulator exactly on top of that position, this green dot can be snapped. When the dot appears, while moving the Manipulator, the only thing that needs to be done is to press the Shift key on the keyboard and keeping it down while releasing the mouse button. The Manipulator is then positioned at the dot, ignoring the actual position where it was at the moment of the action. It does keep the orientation from the moment of the action.
|  |  |
| Start | Drag | Snapped |
| Keep in mind that the Z-orientation of the Manipulator is determined from the surface from which the edge has been approached while dragging the Manipulator. |
Not only geometrical elements shows such special positions. Also a frame does react in a similar way. When the Manipulator is dragged onto a main plane of a frame, the green dot appears, representing the projected position of the Manipulator, from where the drag started, onto that main plane. With the Shift key the manipulator can be snapped to this projected position. When snapping a projection point of a frame, the orientation of the Manipulator becomes the same as the frame.
 |  |  |
| Start | Drag | Snapped |
| It has to be kept in mind that although the Manipulator is located at a certain element and specific location, its position and orientation remains defined according its current position mode. There also is no link between the Manipulator and the element to which it has been snapped. From here the Manipulator’s position and orientation can freely be modified again. |
![]()
Picking a position
Instead of dragging the Manipulator to a desired position, that position can be picked in a single action.
 |  |
| Pick | Positioned |
To activate the functionality the Pie has to be called out at the center of the Manipulator.
The Picking command has a sub level with different picking possibilities.
| It has to be kept in mind that although the Manipulator will be located at a the picked position, its orientation remains the same as before. Also there is no link between the Manipulator and the picked element at which it has been placed. From here the Manipulator’s position and orientation can freely be modified again. |
![]()
Align the axis
The three axis of the Manipulator can be oriented or aligned to any object, any element in the 3D View.
 |  |
| Pick | Aligned |
To activate the functionality the Pie menu has to be called out from the axis that is to be modified.
The Alignment command has a sub level with different picking possibilities.
| It has to be kept in mind that although the Manipulator axis will be aligned with the picked object, its position remains the same as before. Also there is no link between the Manipulator and the picked element with which it has been aligned. From here the Manipulator’s position and orientation can freely be modified again. |